Below are multiple, short, and interactive resources that highlight the full functionality of the OptimaINT. You can use the table of contents below to jump to a specific item, or you can scroll through. In order to complete this course, you’ll have to earn 100% on the quiz. You can take it as many times as you need to. If you run into any issues, please email: [email protected]
The progress bar (above) will say “Course Complete” after you’ve gone through the course and earned 100% on the quiz.
Overview Video
Meet the Optima INT
In this short video, you’ll learn about all of the unique characteristics of the OptimaINT. Please wait to take the quiz (at the bottom of this page) until after you’ve watched this short video. Below are optional resources for you to look at regarding the OptimaINT before or after you take the quiz.
How to Use (Optional)
Below you’ll find a short video showcasing all of the important information for first-time use and an interactive image you can click on to learn more about the functionality of the OptimaINT.
Cursor
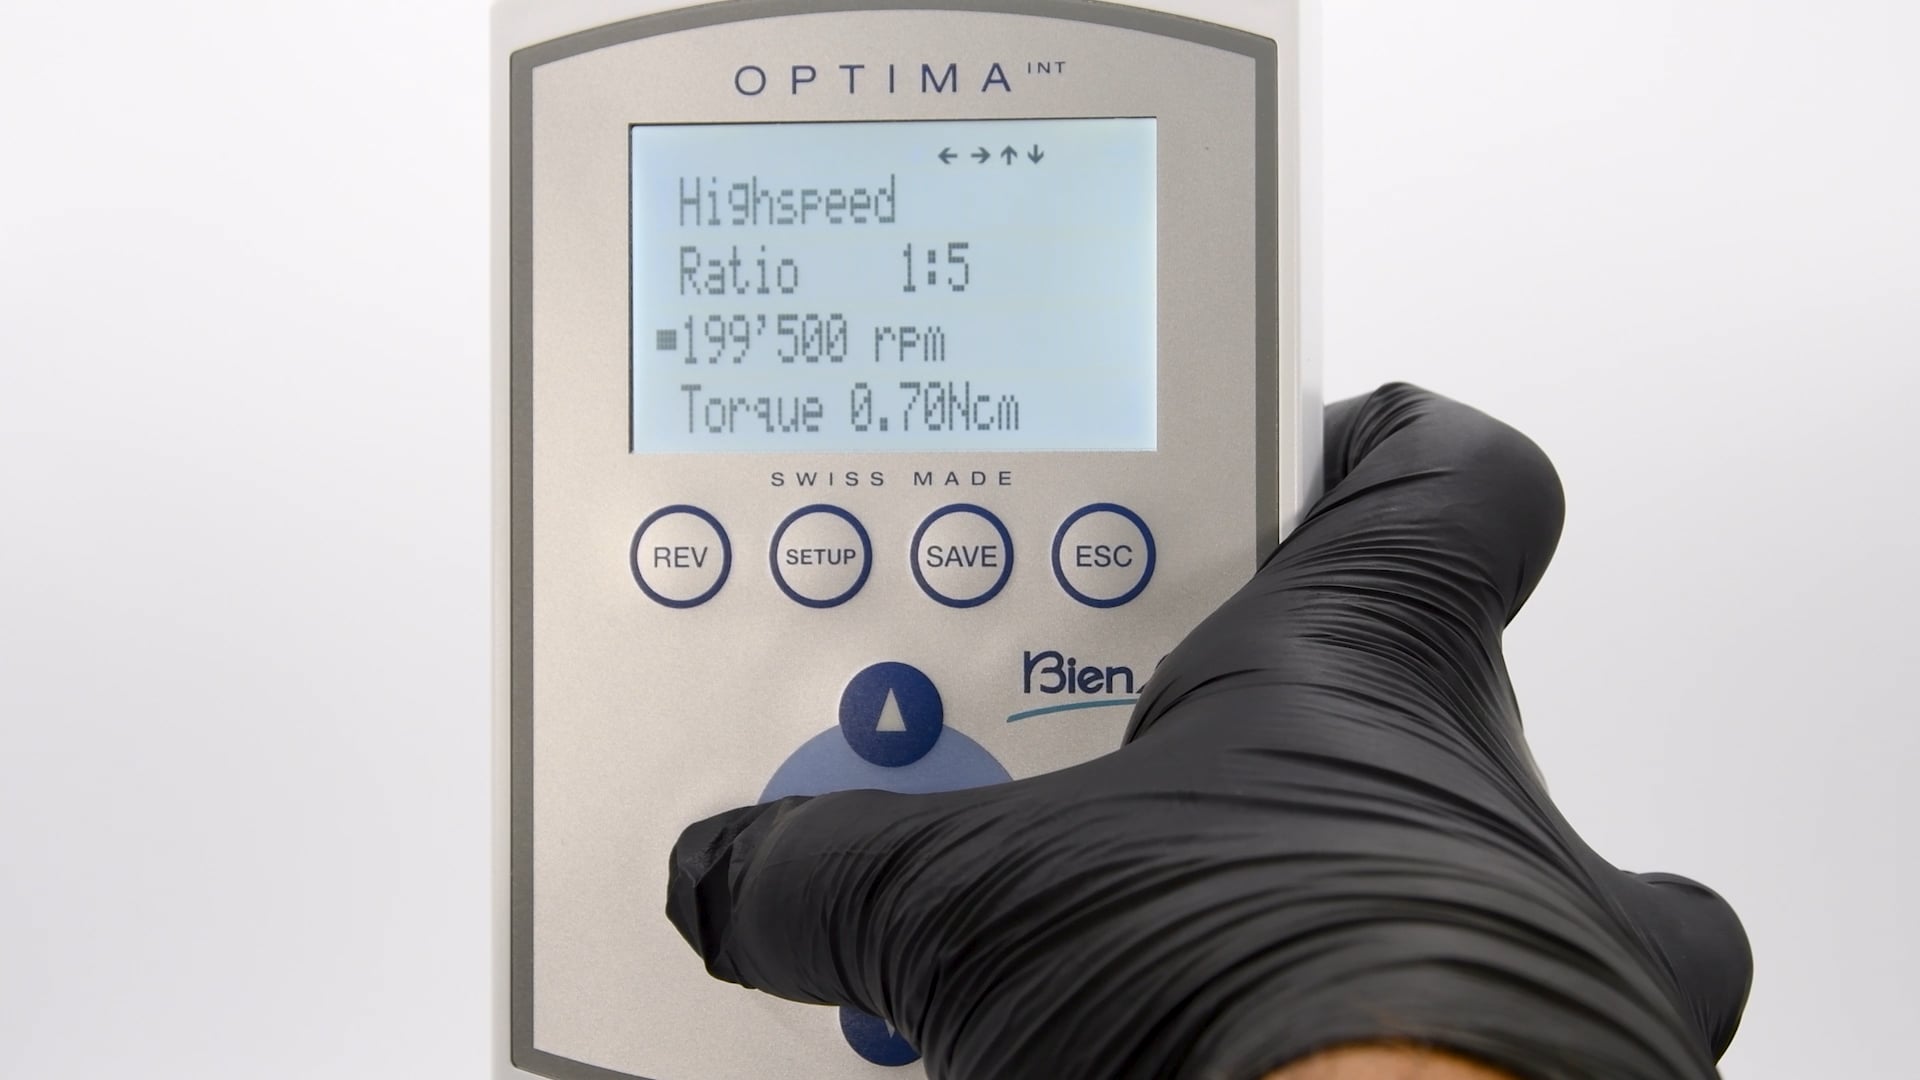
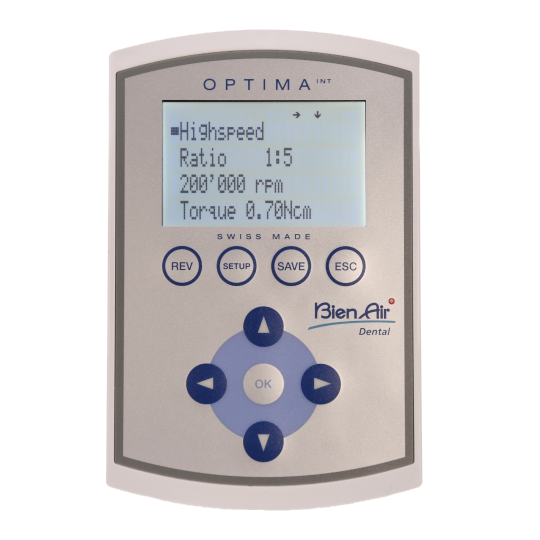
• The black box is your cursor.
• When the black box is over text (like Highspeed), you can use the "Ok" button to select, or the left and right arrow to adjust.
Ratio
•Always check to ensure the ratio on the screen matches the ratio on the attachment you are using for the most accurate speed reading.
Arrows
• The arrows at the top indicate which directional touchpad buttons you can use based on where your cursor is.
REV = Reverse
• Pressing this button will make your attachment spin the bur counter clockwise, or in reverse.
SETUP
• This button will allow you to make setting adjustments, including light intensity, language, sound, and more!
• NOTE: This feature may be disabled in university settings.
SAVE = New Program & Save
• Whenever you make a change in SETUP, press the SAVE button to make the change permanent.
• To program a new attachment, procedure, or file, click "Save" to start the process.
ESC = Back
• This is your "Back" button, it will take you back to the previous screen
OK = SELECT
• Press this button to select what you want to adjust. Once you press it, you can use the Up, Down, Left, and Right arrows to adjust the settings.
Other Helpful Resources (Optional)
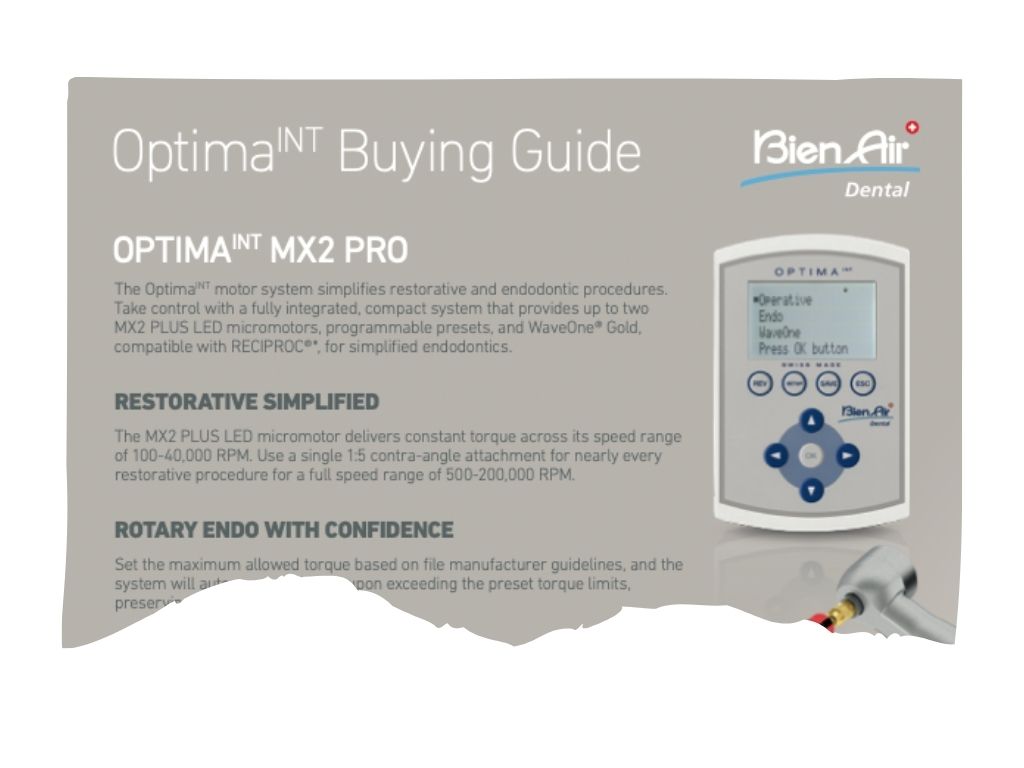
Buying Guide (PDF)
Click the image above to see the PDF.
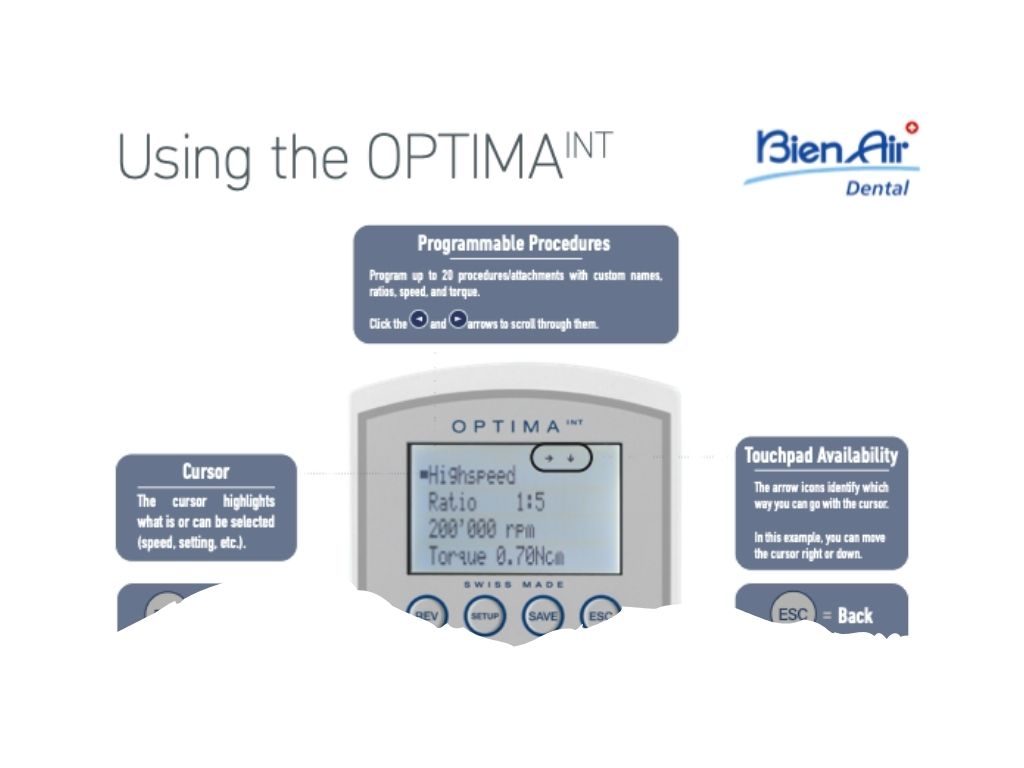
How-to-Use Guide (PDF)
Click the image above to see the PDF.
Why Integration is Important (Optional)
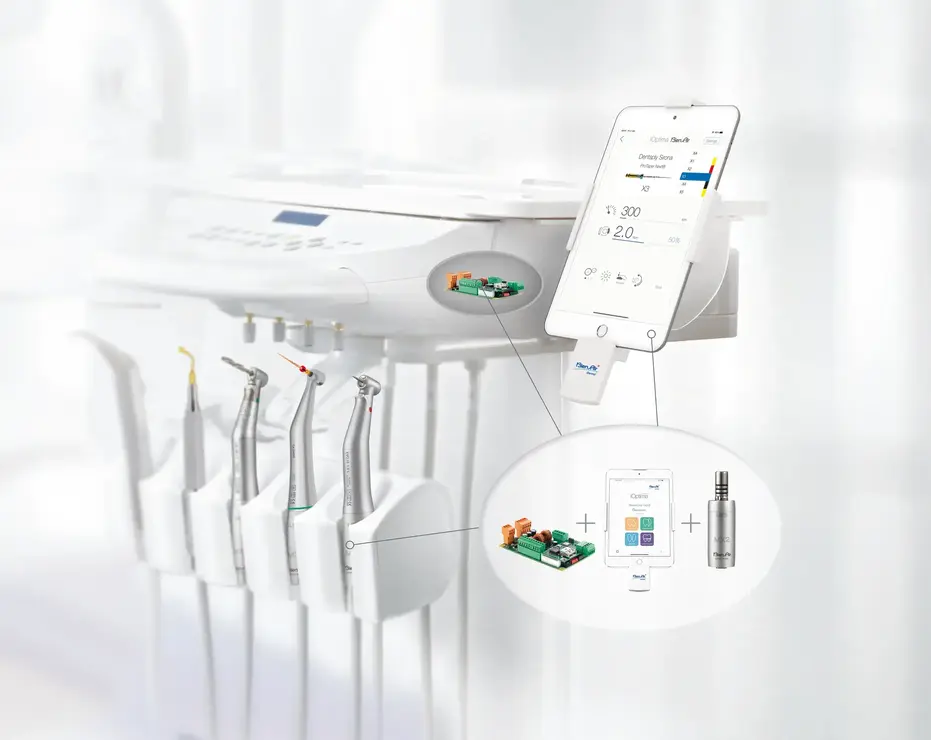
This is an example of an integrated system.
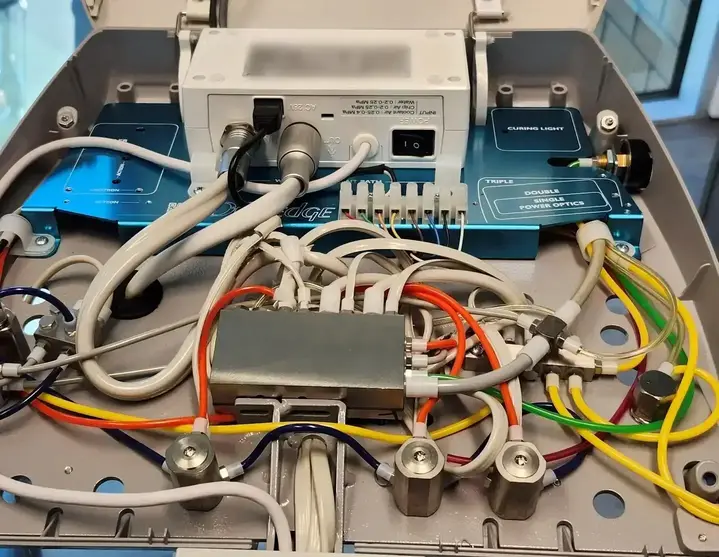
This is NOT integrated - it creates more wires and tubing.
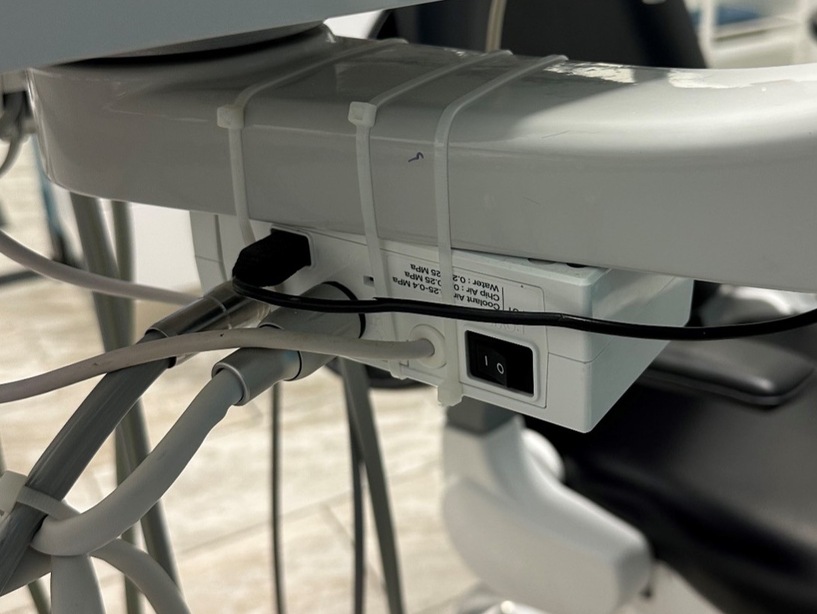
This is another example of a non-integrated system.
Form
An integrated system at the most basic level looks more aesthetically pleasing, as if the the dental unit came with the system pre-installed. In today's modern dental offices, some may try to argue that form trumps function, but we don't have to worry about that at Bien-Air.
Function
Aside from looking better, integrated products function or perform better. Why? There are less wires and cords which means less that can go wrong.
Fit
Regardless of the dental unit, all Bien-Air products can fit on an almost any existing dental unit.