
Setting the "Right" Speed on Your Attachments

Almagam Condensing
- 500 RPM
 s @ 100% Torque
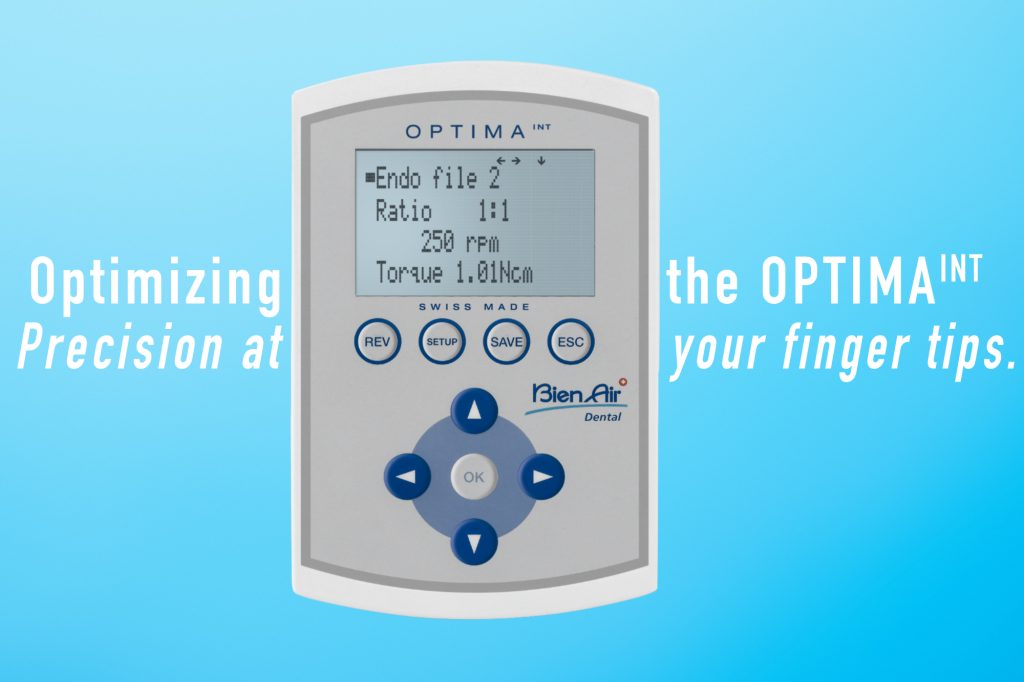
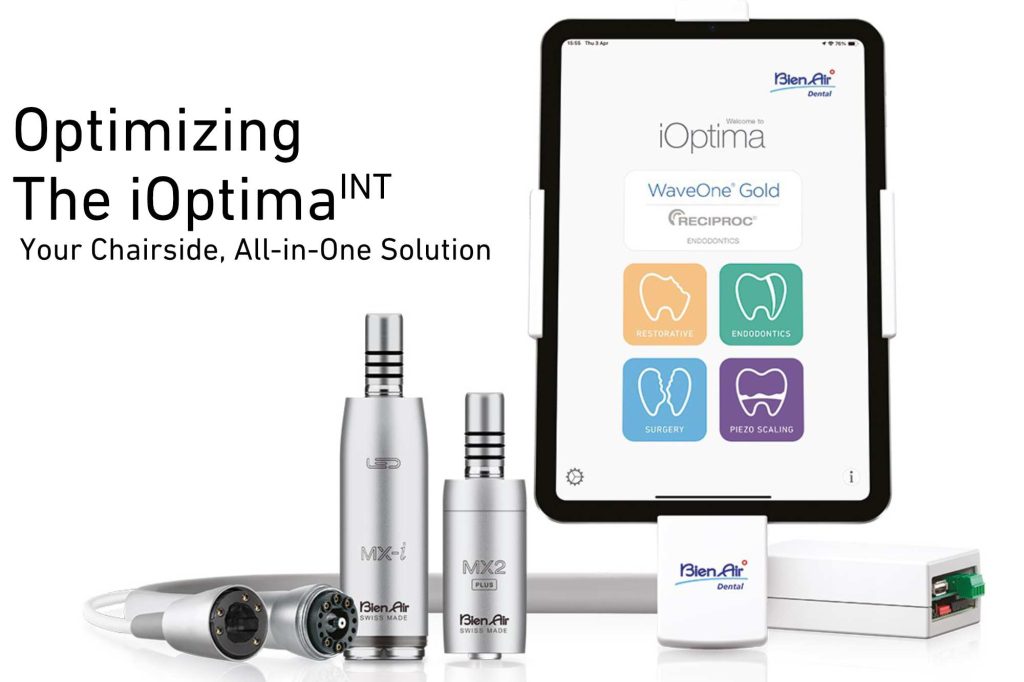
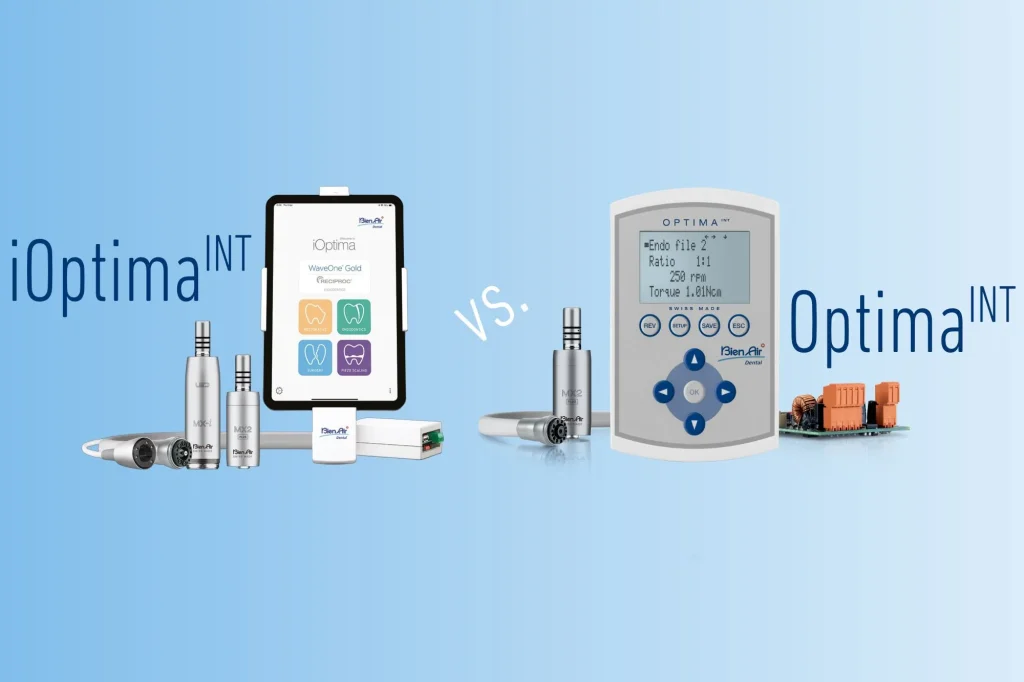
NOTE: You can only run your attachments at this speed using the Optima INT and iOptima INT.
Almagam Polishing
- 1,000 RPMs @ 100% Torque
NOTE: You can only run your attachments at this speed using the Optima INT and iOptima INT.
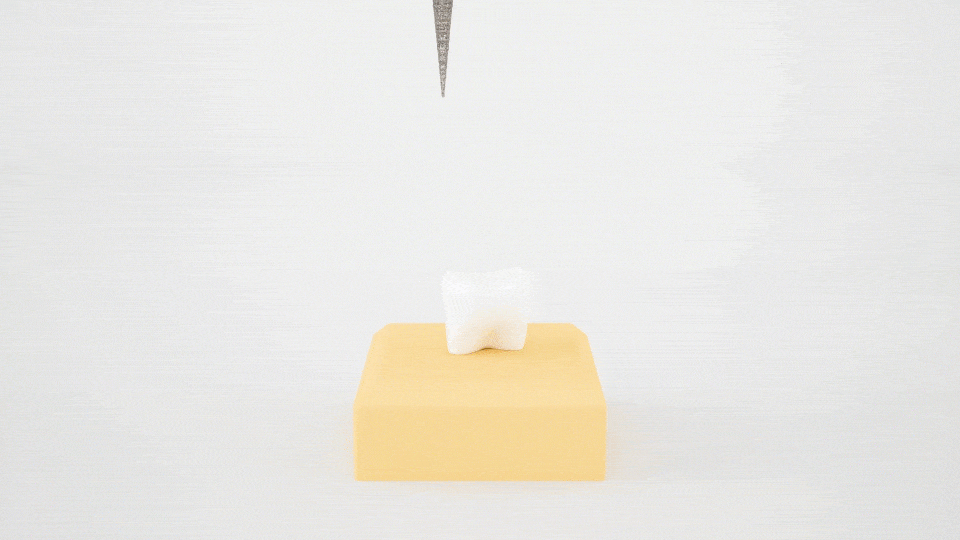
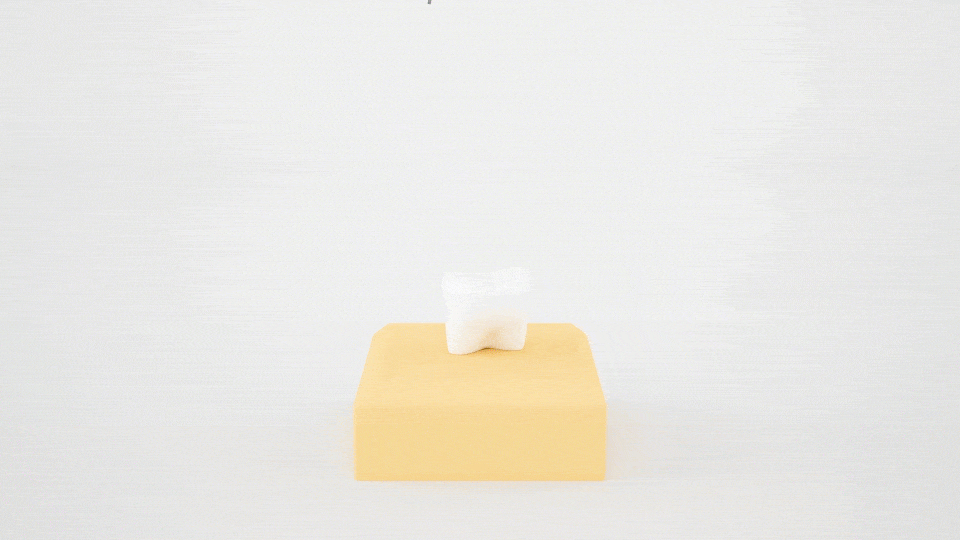
Pin Placement
- 2,000 RPMs @ 100% Torque
NOTE: You can only run your attachments at this speed using the Optima INT and iOptima INT.
Prophy & Polish Gold and/or Microfils
- 5,000 RPMs @ 100% Torque
Pin Hole Drilling & Gross Caries Removal
- 10,000 RPMs @ 100% Torque
Adjust Temp Crown & Bridge
- 15,000 RPMs @ 100% Torque
Deep Caries Removal
- 20,000 RPMs @ 100% Torque
General Cavity Prep Finishing
- 35,000 RPMs @ 100% Torque
Chairside Trimming & Denture Adjustment
- 40,000 RPMs @ 100% Torque
Polishing Interdental + Subgingival & Eliminating Almagum Overhang
- 50,000 RPM
 s @ 100% Torque
Porcelain Adjustment
- 125,000 RPMs @ 100% Torque
Final Crown & Bridge Prep Finishing and/or Bevels + Margins
- 140,000 RPMs @ 100% Torque
Cavity Prep Finishing Bevels + Margin
- 150,000 RPMs @ 100% Torque
Cut Retention Grooves and/or Occlusal Adjustments
- 160,000 RPMs @ 100% Torque
Dental Reduction and/or Tooth Sectioning and/or Bulk Enamel Reduction
- 200,000 RPMs @ 100% Torque
NEW! Learn About Minimally Invasive IPR
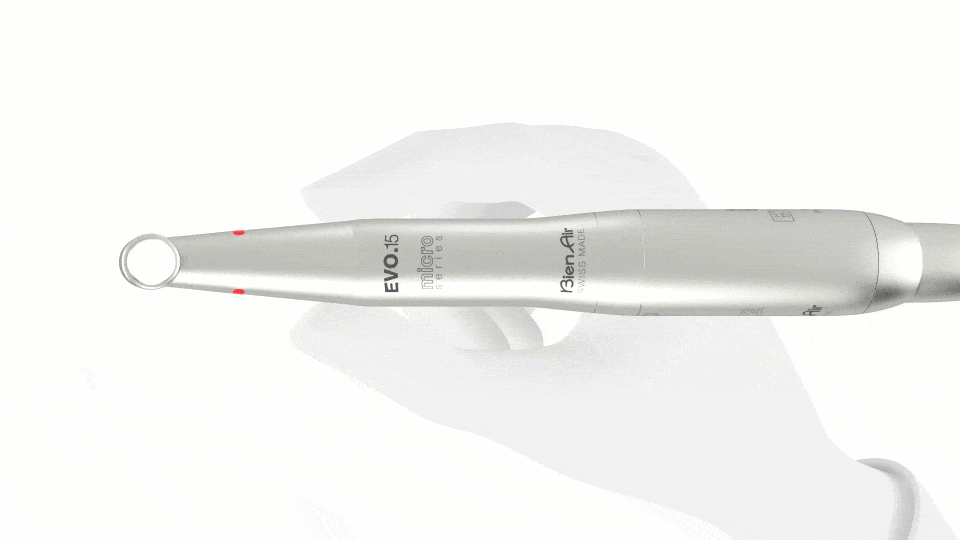
Getting Started with Bien-Air Products
The interactive content below is taken from our “Bien-Air Advantage” course. This lesson helps you get setup with Bien-Air, if you’re using it for the first time or just would like to learn more about our systems. If you’d like to take this entire course, please register as a dental professional.
Pascal Magne on Electric Handpieces
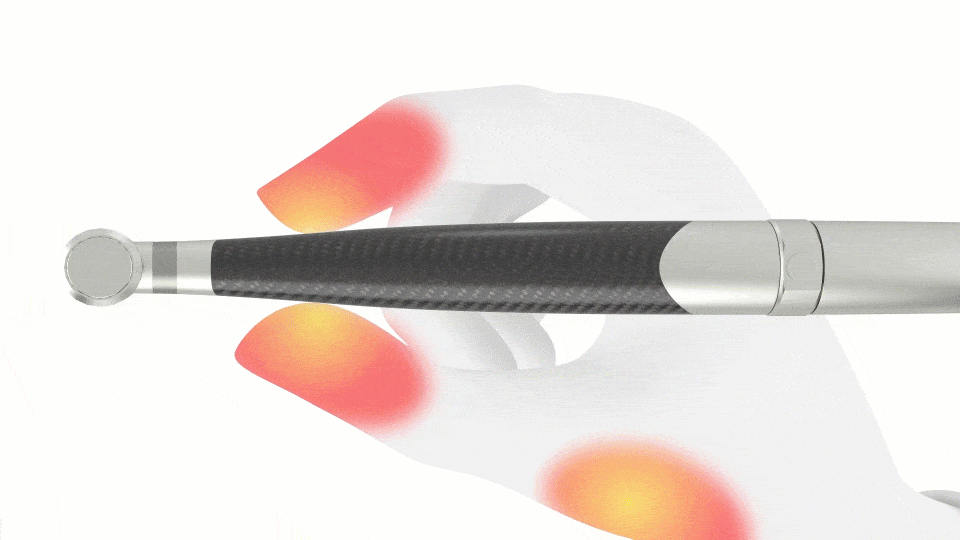
Maintaining Your Contra Angles
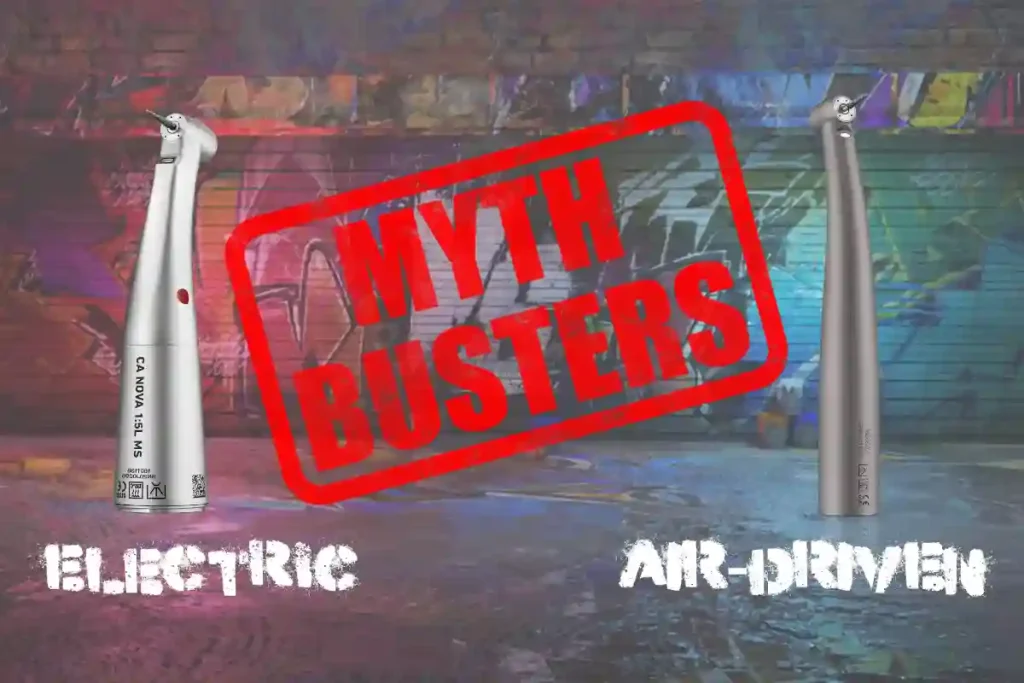
Cutting with Electric vs. Air-Driven Handpieces
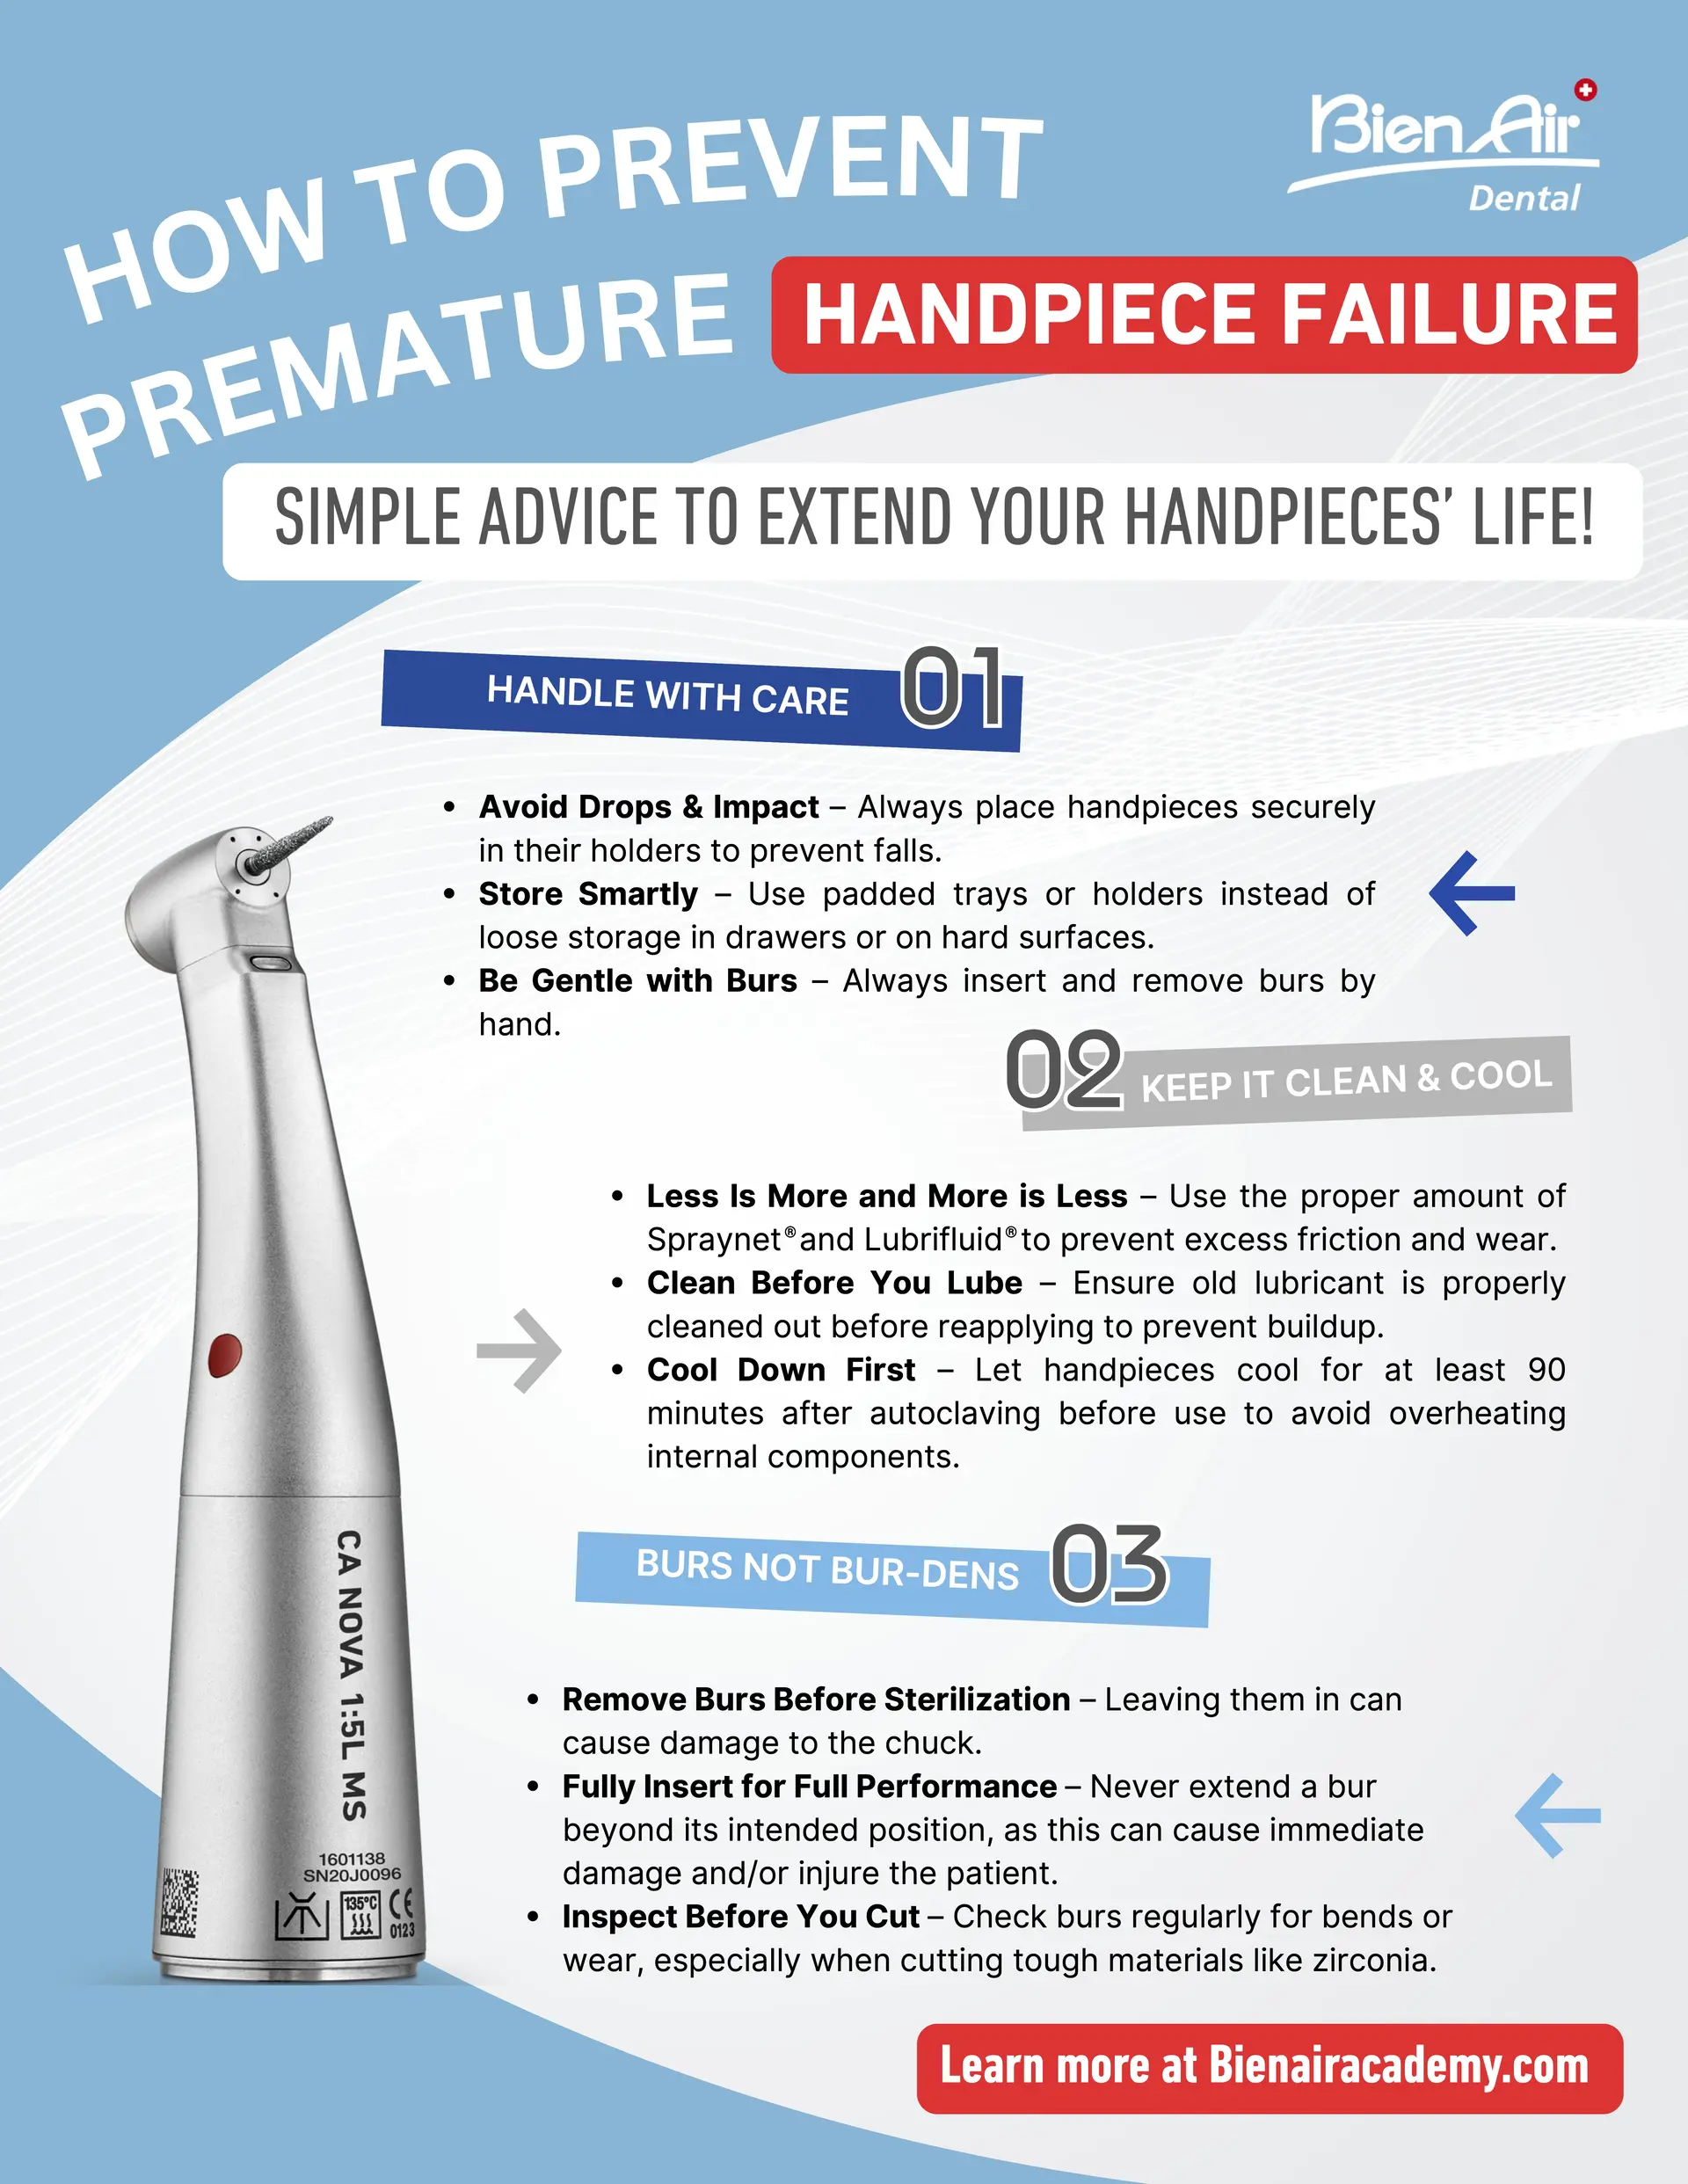
Preventing Premature Failure of Handpieces
You can download the PDF, below, by clicking here.
Webinars
Learn More about Bien-Air Products

